
Last updated September 20, 2026
Free on-site gate assessment - hinges, posts, and your LiftMaster or Nice gate operator checked before anything is quoted
The assessment is free and the quote is the invoice.

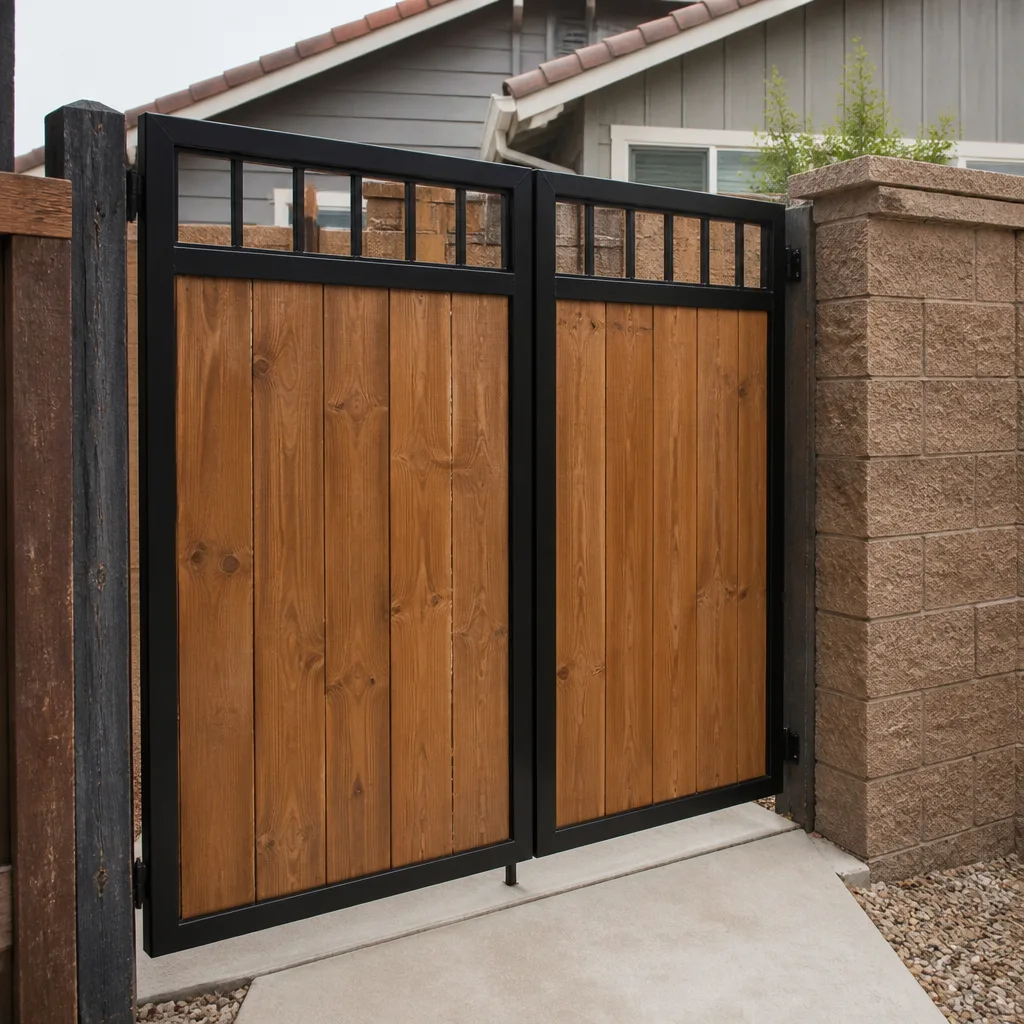


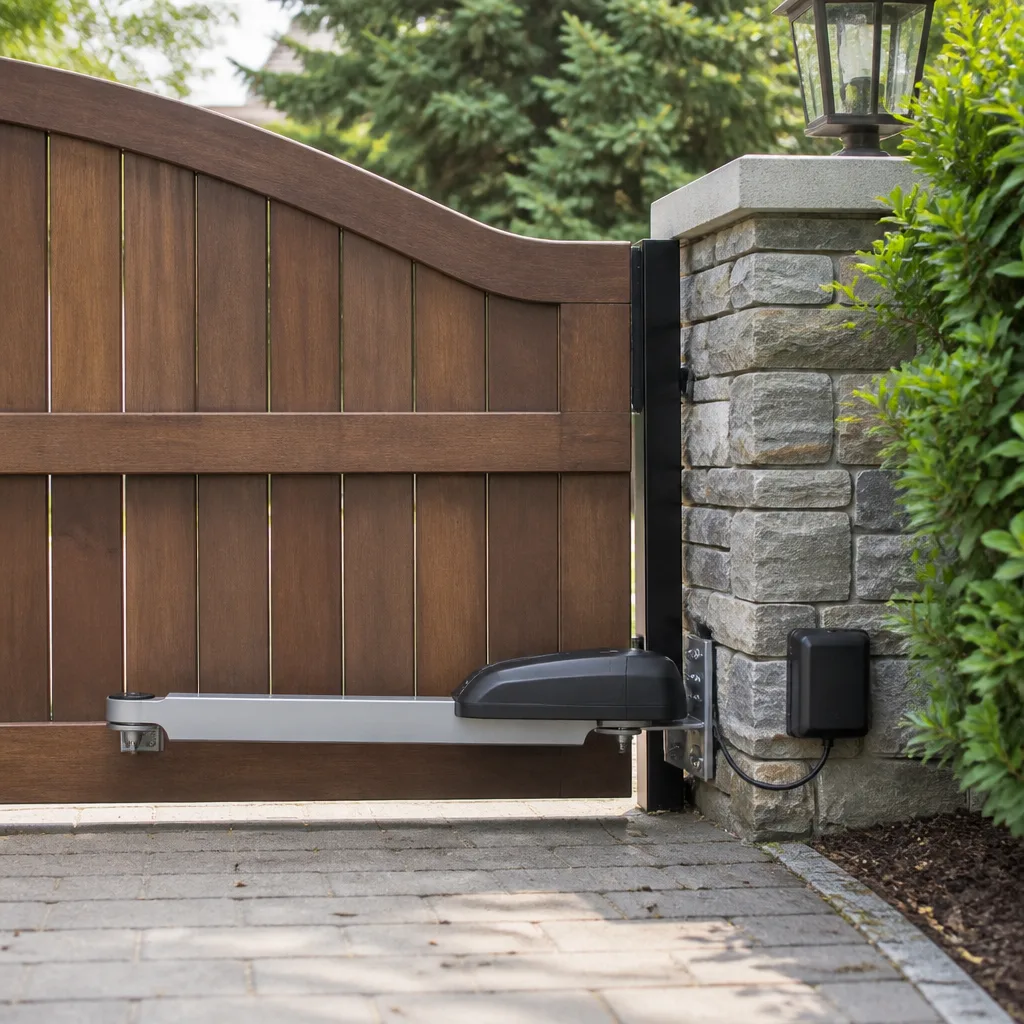
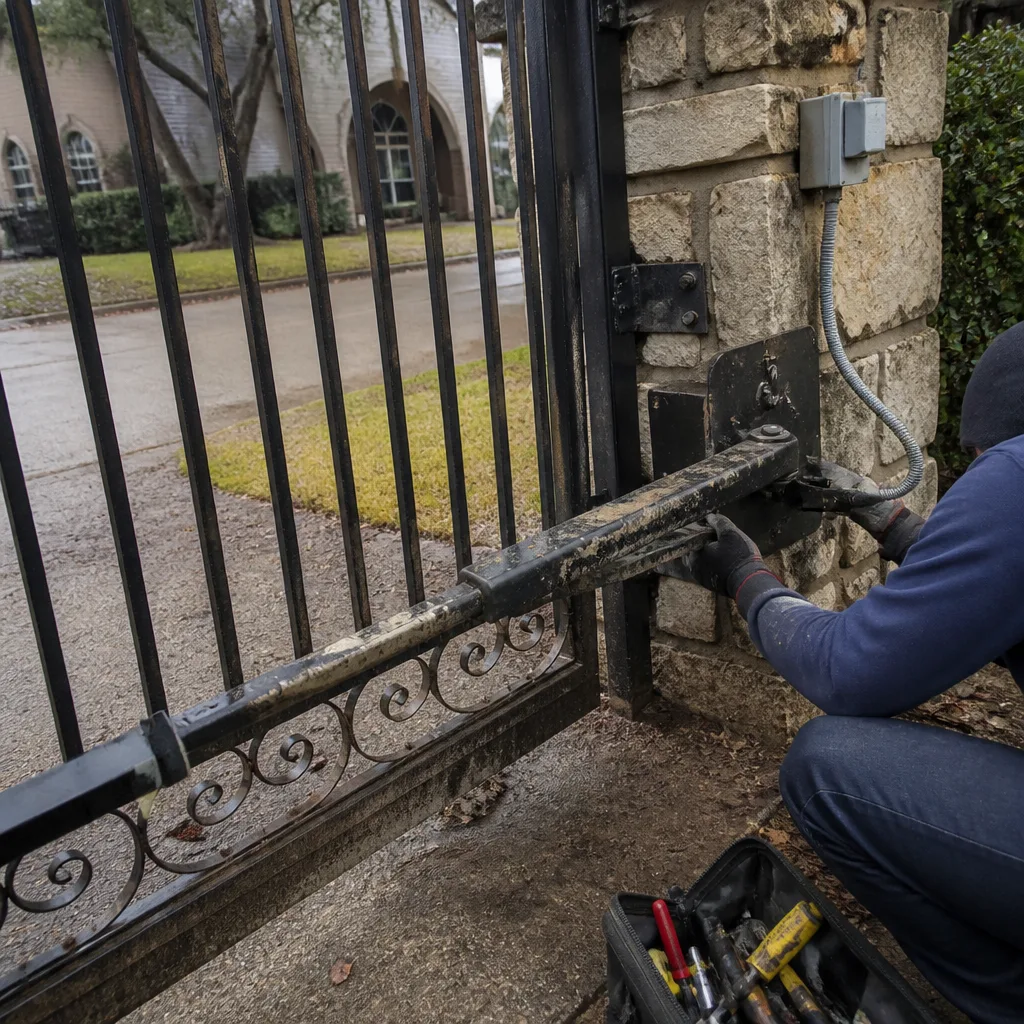 Before
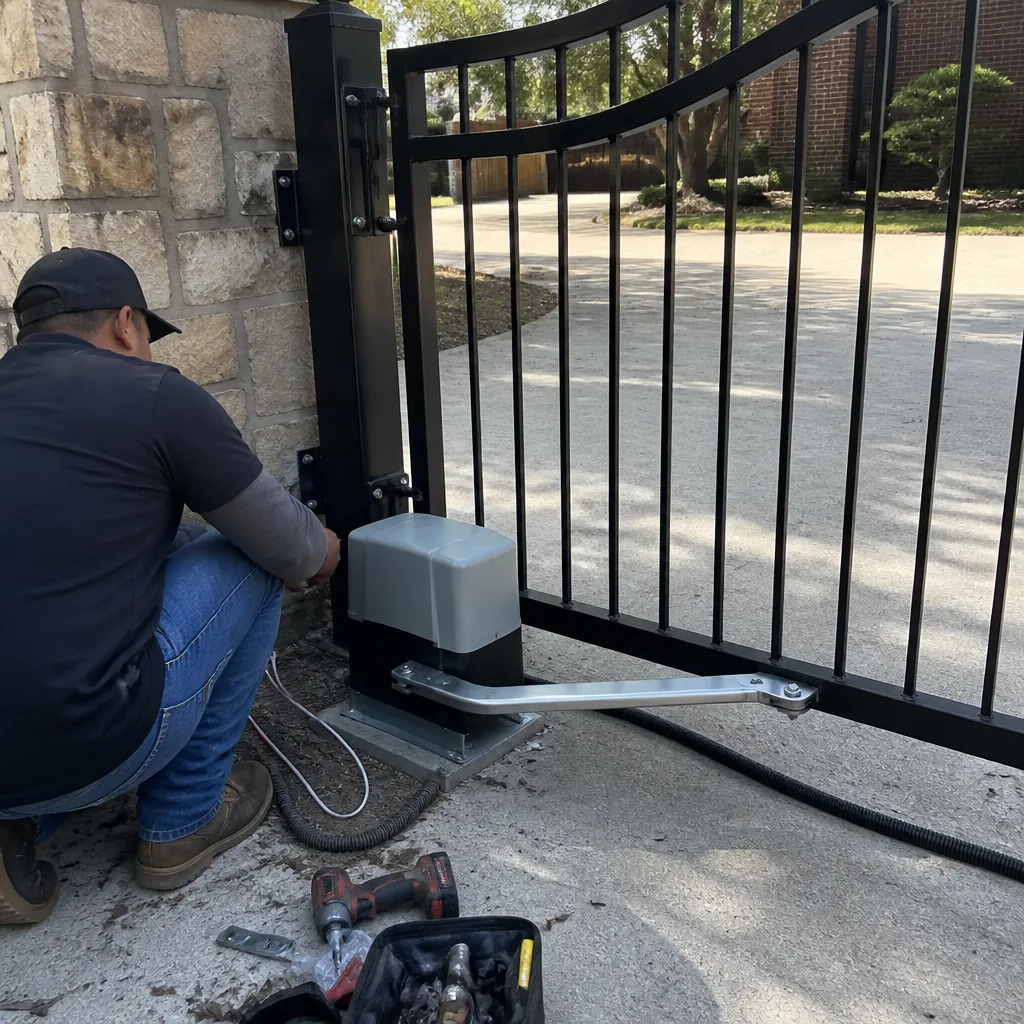 After
After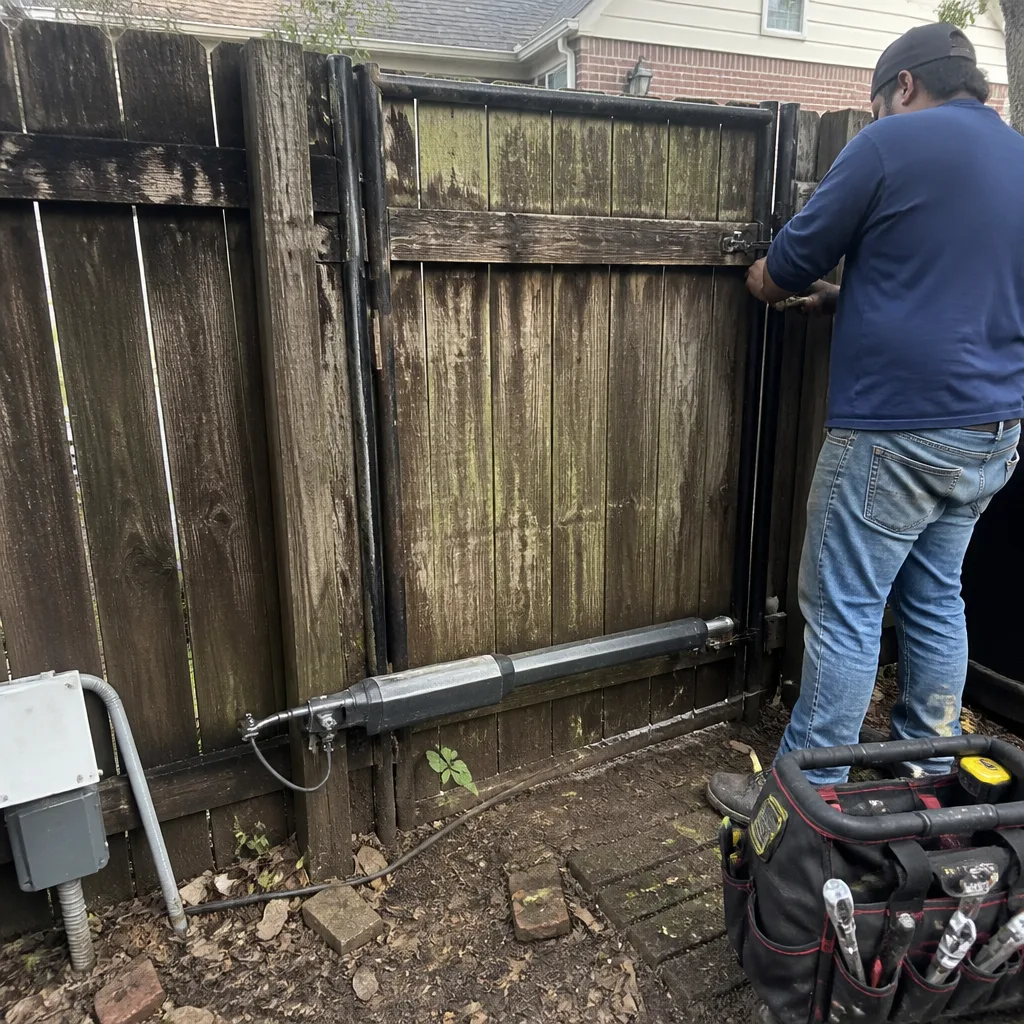 Before
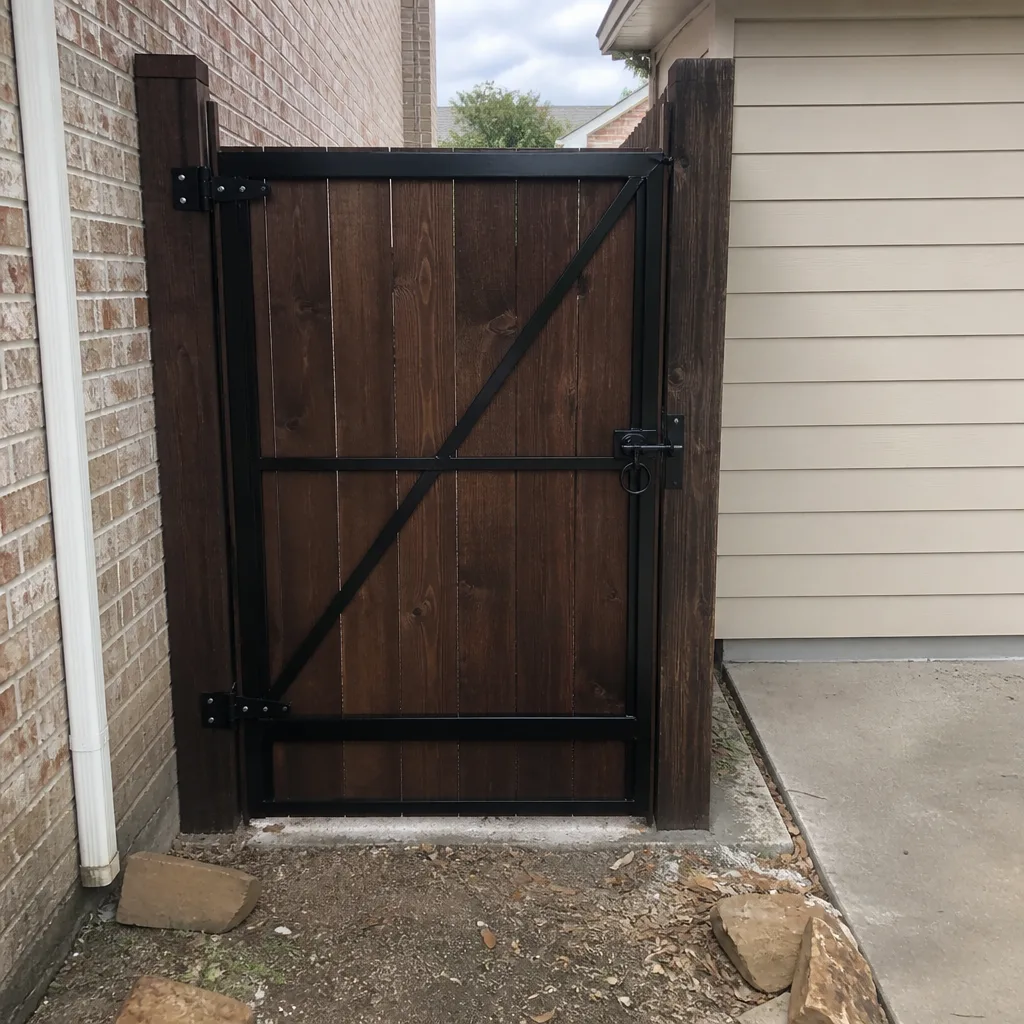 After
After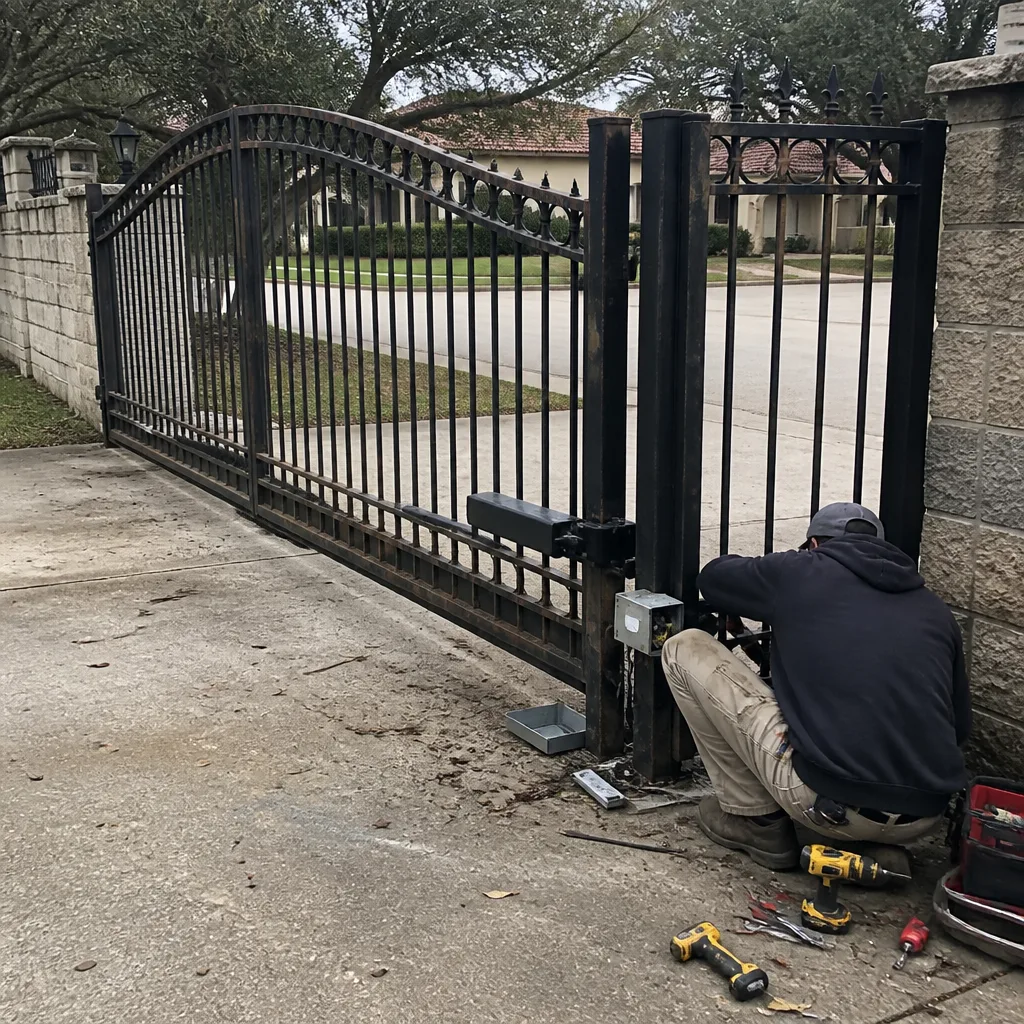 Before
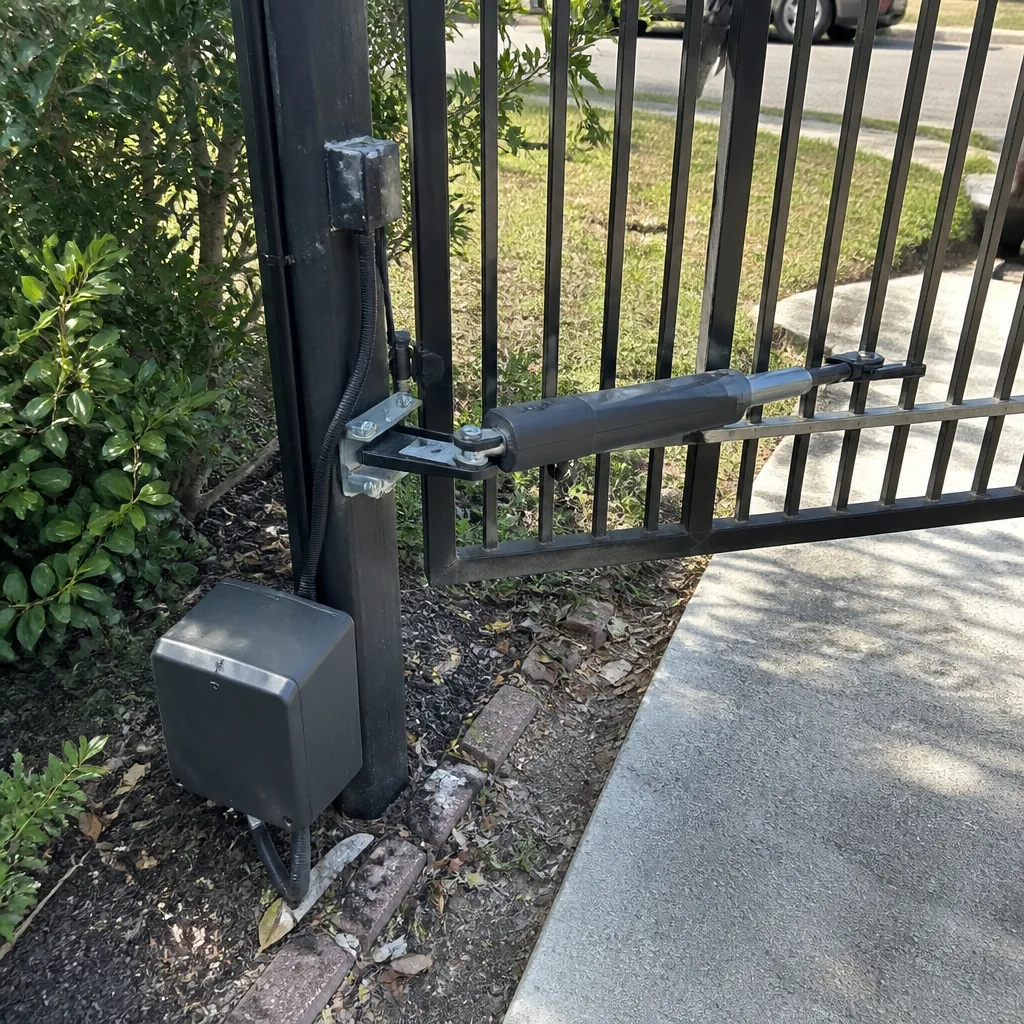 After
AfterDIY vs Professional Gate Repair: The Missouri City Homeowner’s Decision Guide
A gate remote with a dead battery is a ten-minute fix anyone can handle. A swing gate that groans at the hinge and binds halfway through its travel is a different animal entirely. The line between these two isn’t skill level. It’s documentation. When you fix your own gate, you leave no service record, no torque readings, no photo of the limit switch position. The next technician who touches that gate charges discovery time to figure out what you did. Or what you didn’t. That’s the real cost most DIY Gate Repair services advice never mentions, and it’s the cost Missouri City homeowners pay every week when we arrive after a well-intentioned weekend fix went sideways.
Quick Answer
Safe DIY gate repair in Missouri City is limited to low-risk, non-mechanical items: remote batteries, keypad code resets, photo-eye lens cleaning, hinge lubrication, and track debris removal. Anything involving the operator, the electrical system, gate alignment, or load-bearing hardware should be handled by a professional. The deciding factor isn’t whether you can do the repair. It’s whether you can document it well enough that the next technician doesn’t charge you twice to rediscover the problem.
Table of Contents
- Safe DIY Repairs: What You Can Handle
- Conditional DIY: Repairs You Can Do Only With Documentation
- Professional-Only Repairs: When the Risk Outweighs the Savings
- The Documentation Standard: What to Photograph and Write Down
- Warranty Void Risk: Brand-Specific Notes for Missouri City Gates
- The Real Cost Comparison: Labor Saved vs. Risk Adjusted
- The Clean Handoff: How to Pass a DIY Repair to a Technician
- Common Mistakes to Avoid
- When to Call a Professional
- Frequently Asked Questions
BeforeAfterSafe DIY Repairs: What You Can Handle
Some gate repairs don’t require a technician, a multimeter, or a service call. They require a screwdriver, a cleaning rag, and maybe ten minutes. These are the repairs where getting it wrong carries almost no downside risk, and where you can easily document what you did in one photo.
- Remote battery replacement. If the remote lights up but the gate doesn’t move, the battery is the first suspect. This is a two-minute fix that costs under $5. Most LiftMaster and Linear remotes use a CR2032 coin cell or a 9V battery. Slide the cover off, note the battery orientation before removing it, and replace.
- Keypad code reset. Keypads lose programming after power surges, which Missouri City gets during summer storm season. The reset procedure is brand-specific, and most manufacturers publish it in the manual. If you don’t have the manual, stop. Guessing at keypad programming can lock the keypad out entirely.
- Photo-eye lens cleaning. The photo-eye is the small infrared sensor pair mounted near the bottom of the gate track or post. Missouri City dust, pollen, and spring rain splatter build up on these lenses and cause phantom gate reversals. Wipe both lenses with a dry microfiber cloth. Don’t use glass cleaner. Some lens coatings degrade with ammonia.
- Hinge lubrication. Swing gate hinges need a silicone-based or lithium-based grease every six months, more often if the gate faces a sprinkler head. A dry hinge makes the operator work harder, which shortens motor life. Lubricating hinges is safe DIY work, but photograph the hinge before and after so you can see wear.
- Track and wheel debris removal. For slide gates, Missouri City oak leaves and grass clippings pack into the V-track and cause the gate to shudder or stall. Clearing the track with a shop brush and a flathead screwdriver is routine maintenance, not really a repair. Wear gloves. The track edge can be sharper than it looks.
These five jobs account for roughly a quarter of the residential service calls we run. That’s worth sitting with for a second. A quarter of the calls we get are things the homeowner could have handled in under fifteen minutes with no training. The key word there is could have, because the other three-quarters are jobs where DIY creates a bigger problem than it solves.
Conditional DIY: Repairs You Can Do Only With Documentation
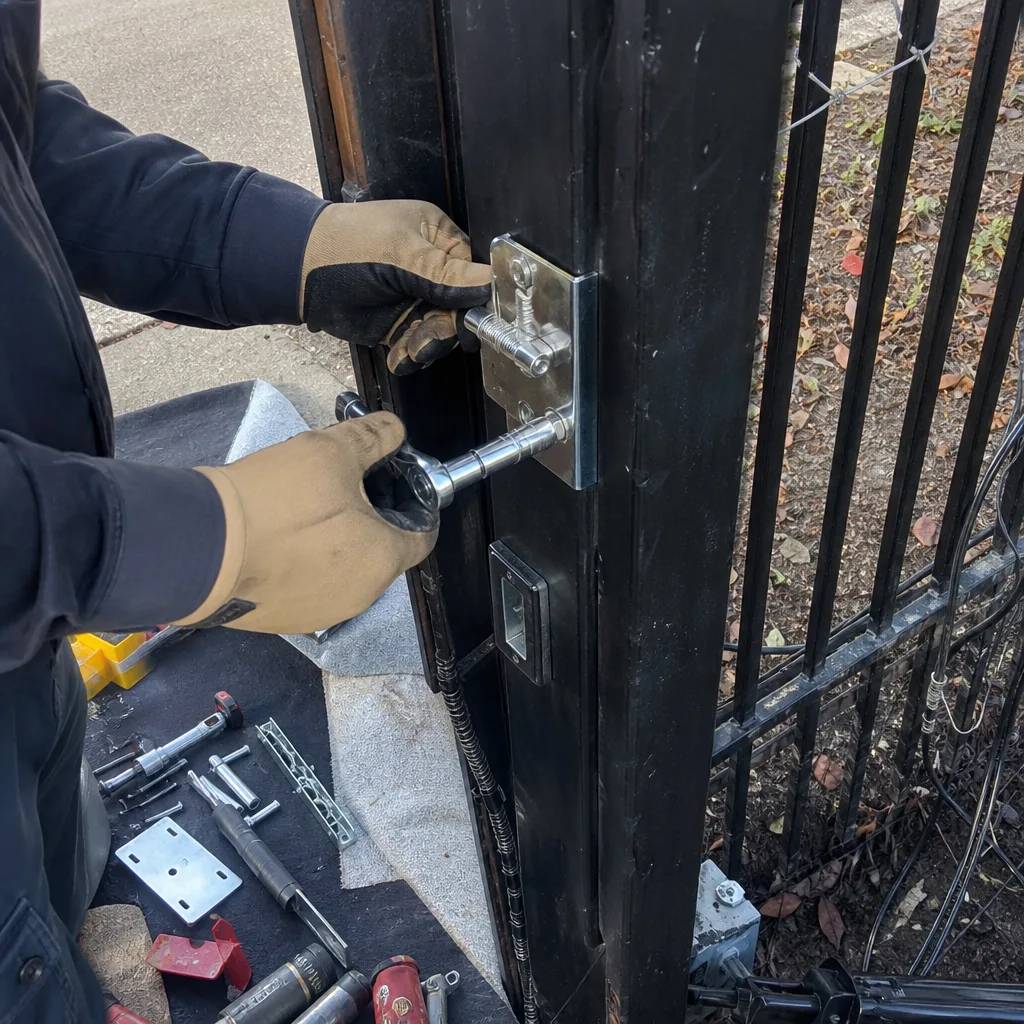
This is the tier most guides skip. These are repairs a mechanically inclined homeowner can perform, but only if they follow the documentation standard we lay out in the next section. If you’re not willing to photograph and write down what you did, these jobs should be handed to a professional from the start.
- Photo-eye realignment. If one lens was knocked out of position, you can realign it. The beam needs to hit the receiver lens dead center. The catch: a misaligned photo-eye can cause the gate to refuse to close, or worse, to close on a vehicle because the safety circuit is now compromised. Test with the manual obstruction method: place an object in the beam path while the gate is closing. The gate should reverse immediately. Photograph the final lens position and note which direction you adjusted it.
- Limit switch adjustment after a power surge. LiftMaster, FAAC, and BFT operators store limit settings on the control board. After a hard lightning strike or brownout (common in Missouri City summer storms), those settings can corrupt and the gate will stop six inches short or travel six inches too far. Adjusting limits is a menu-driven process on most units. It’s doable, but you must write down the original settings before changing anything. If you can’t retrieve the original numbers, don’t touch it.
- Manual release and reset. Every operator has a manual release mechanism so you can push the gate open during a power outage. Re-engaging the release correctly matters. If the set screw isn’t tightened to spec, the gate can drift. This is a conditional DIY: if you understand how the release mechanism engages, go ahead. If you’re guessing, don’t.
- Chain or belt tension adjustment on a slide gate. A loose chain slaps against the rail and sounds awful. Tensioning requires knowing the spec for your specific operator. Too tight is worse than too loose: an over-tensioned chain destroys the drive sprocket bearing. Look up the manufacturer’s tension spec, measure with a ruler, and document the measurement before and after.
What makes these conditional rather than safe is the interaction with the safety systems. A gate is a moving vehicle-sized object. The safety margins aren’t a suggestion. They’re an engineering requirement. If documentation isn’t part of your repair process, you’re not really saving money. You’re deferring it.
Professional-Only Repairs: When the Risk Outweighs the Savings
Some jobs should never be DIY, not because you lack the intelligence to figure them out, but because the failure mode is catastrophic and the diagnostic equipment isn’t in your garage. Here’s the tier breakdown.
- Operator motor replacement. This involves line voltage, capacitor discharge risk, and precise mounting alignment. A motor wired backward burns out in under a minute. A capacitor holds charge long after power is disconnected and can genuinely hurt you. This is professional work.
- Control board replacement and wiring. A LiftMaster or FAAC control board has terminals for power, motor, limits, safety inputs, and accessory outputs. One miswired terminal can destroy the new board instantly. Boards cost $200 to $600. The labor cost to have it done right is less than the cost of replacing the board twice.
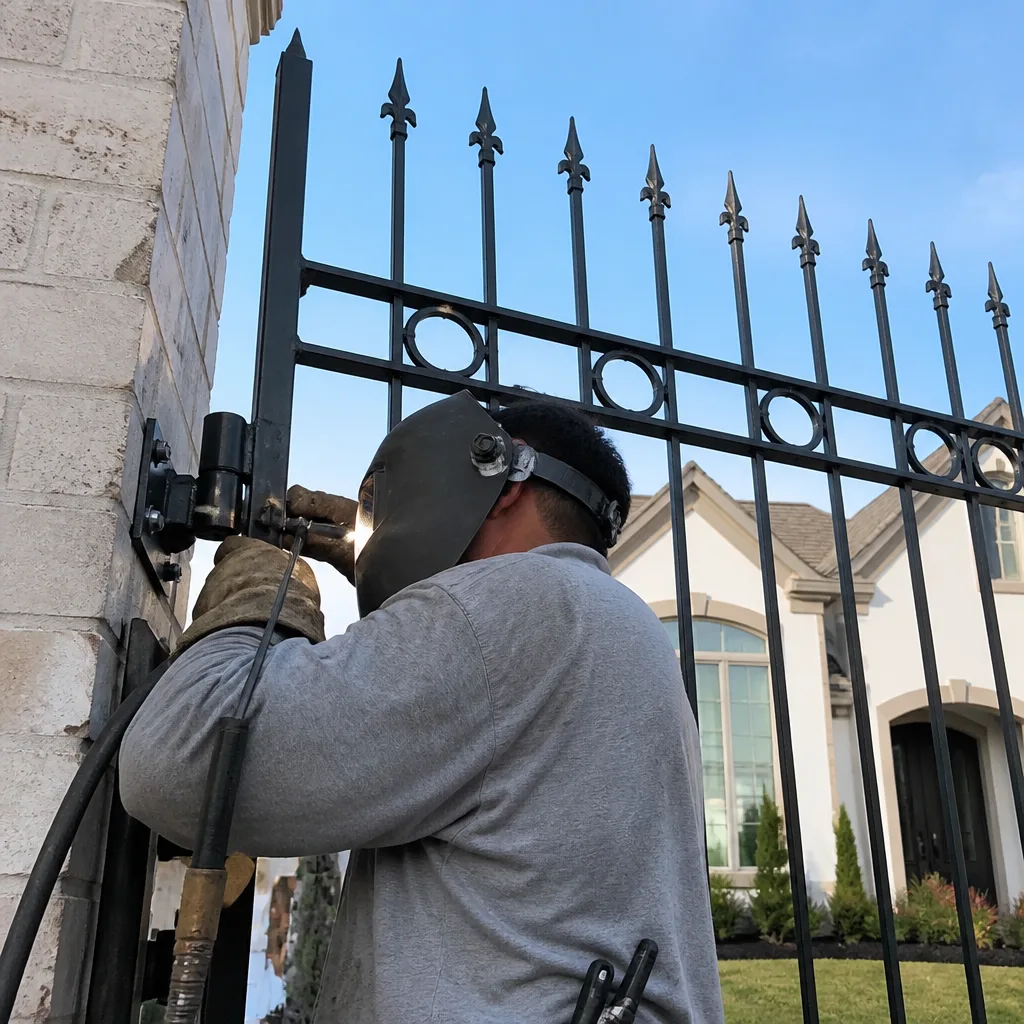
- Gate hinge replacement on a heavy swing gate. A full-size ornamental steel gate can weigh 400 to 900 pounds. When a hinge fails, that weight has to be supported and precisely repositioned while the new hinge is welded or bolted in place. The risk isn’t just to the gate. It’s to whoever is standing under it.
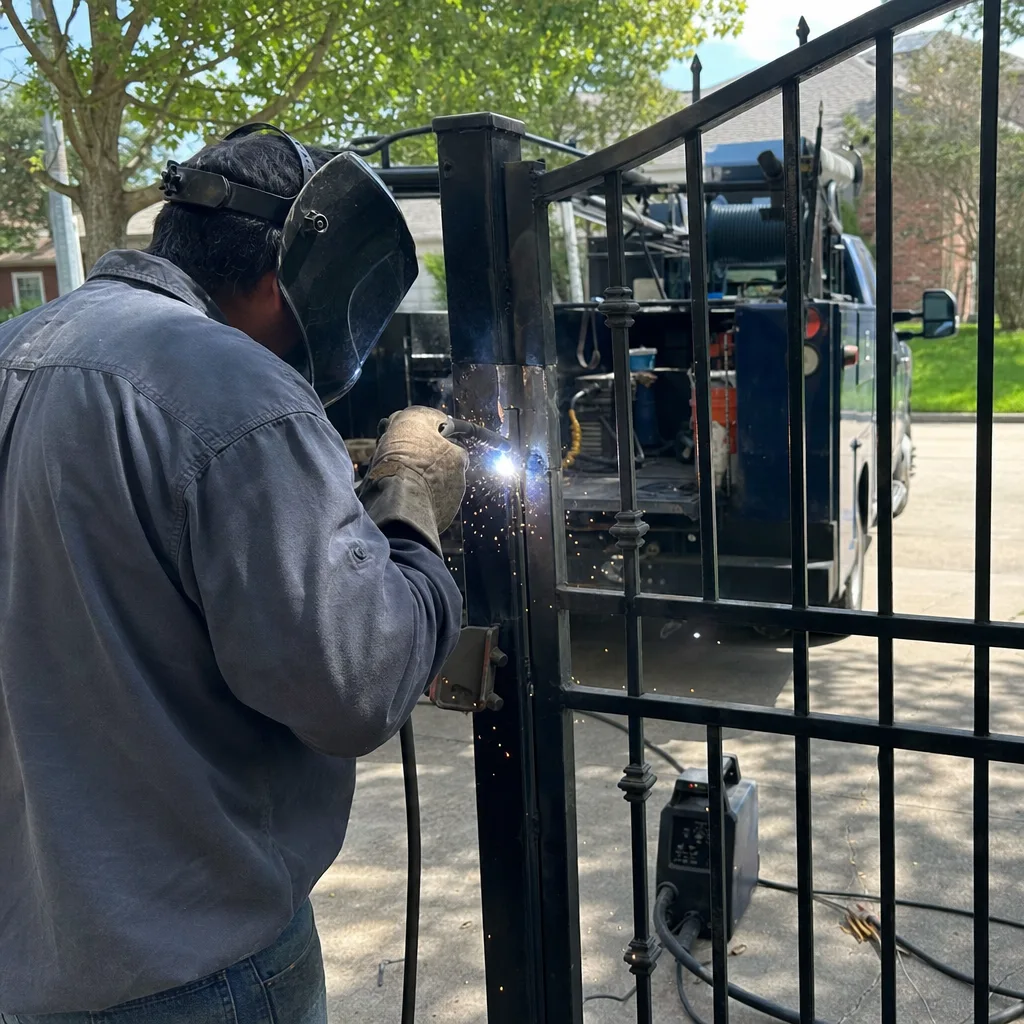
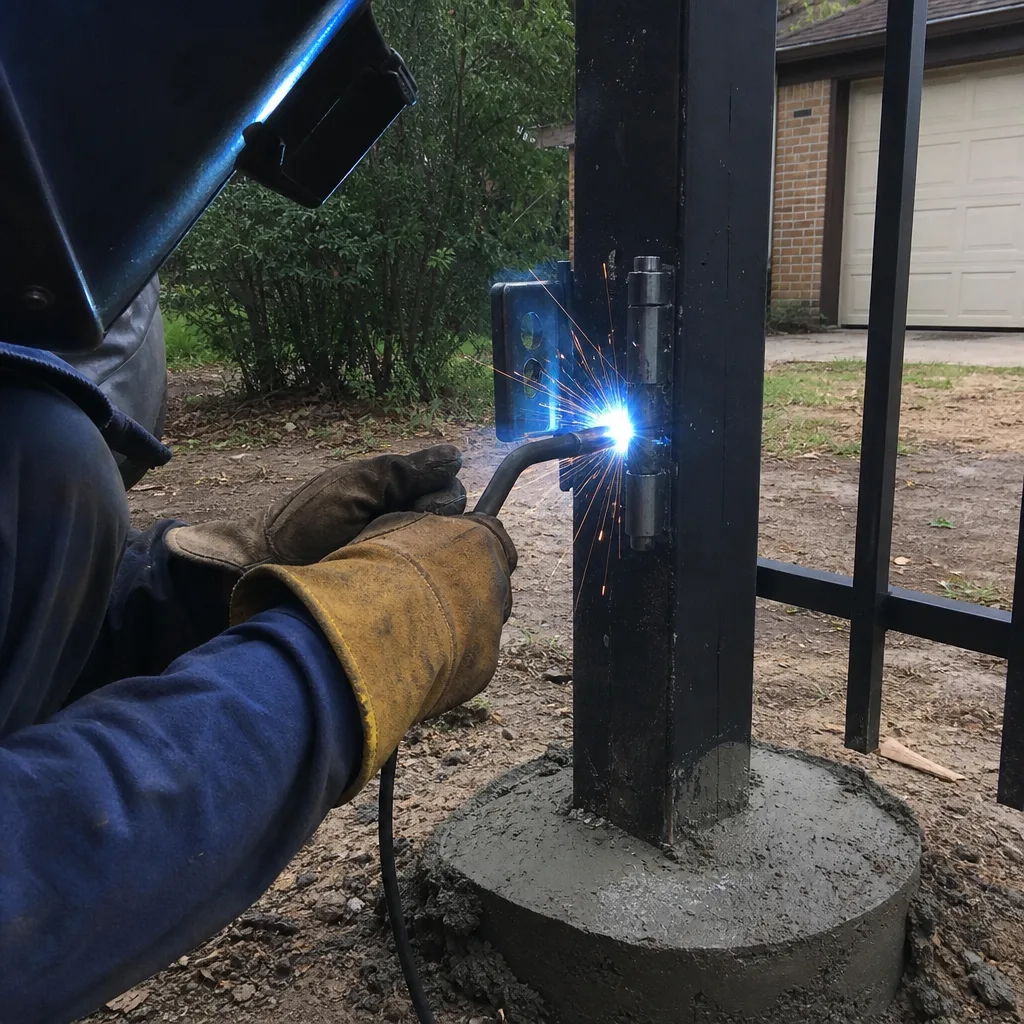
- Welding repairs on cracked frames or posts. Gate welding requires proper grounding, correct amperage for the material thickness, and often a mobile rig. A bad weld on a gate frame looks fine for three months and then fails catastrophically. In Missouri City’s humidity and clay soil, post movement also causes stress cracks. The repair isn’t just welding; it’s understanding why the crack formed.
- Any repair involving line voltage or buried conduit. Gate electrical runs often share conduit with landscape lighting and irrigation control wire. Cutting into the wrong buried line creates a much bigger job. Missouri City clay soil expands and contracts with moisture, which stresses buried conduit and makes this work unpredictable.
- Operator replacement with structural modifications. If the new operator doesn’t fit the existing mounting plate, the job becomes a fabrication task. That’s fabrication, not installation. Two different skills.
We’re not trying to scare homeowners into calling us. We’re trying to prevent the phone call that starts with “so I tried to replace the circuit board myself.” That call ends with a higher invoice than the original repair would have cost, every single time.
The Documentation Standard: What to Photograph and Write Down
If you’re going to do any conditional DIY gate repair, here’s the standard we use on every professional visit. It’s called The Haven Standard, and its fourth clause covers evidence: every job includes a documented photo record. You can apply the same standard to your own work, and it will save you money later.
The photo record:
- Before photos. Three angles minimum: the operator unit, the gate hardware (hinges or truck assembly), and the control board if you’re touching it. These photos capture the original state before you change anything.
- Settings photos. If you’re adjusting anything with a number attached – limit positions, dip switch configurations, potentiometer positions – photograph the original setting with a ruler or finger pointing at it. This is the single most valuable photo you can take.
- After photos. Same three angles, after the repair is complete. These show what changed.
- Part number photo. If you replace any part, photograph the part number on the old part and the packaging of the new part. If you can’t find a part number, write a description of where you bought it and what the packaging said.
The written record:
- Date and time of the repair.
- What you observed before you started (gate was binding at 30 degrees of travel, motor hummed but didn’t move, etc.).
- What you did, in order.
- What settings you changed, from what value to what value.
- What parts you installed, with part numbers.
- What test results you got after the repair (gate closes fully, reverses on obstruction, no chain slap).
Store this record somewhere a future technician can find it. A ziplock bag taped inside the operator cover works. A notes app entry you’ll never look at again does not. The point is to create a service history that travels with the gate, because the gate will outlive your memory of what you did to it. When you eventually call a gate repair professional in Missouri City, that record is the difference between a 15-minute diagnostic and a two-hour forensic investigation at labor rates.
Warranty Void Risk: Brand-Specific Notes for Missouri City Gates
Most homeowners don’t read their operator warranty until it’s too late. Here’s what the major brands say about unauthorized repair, and why Missouri City’s climate makes this conversation especially relevant.
LiftMaster. LiftMaster warranty language explicitly excludes damage caused by “unauthorized modification or repair.” If a homeowner opens the control board cover and adjusts the force control too high, then the motor burns out, the warranty claim will be denied. The technician can tell the cover was opened. We can tell. The tell isn’t supernatural; it’s a scratch pattern on the cover screws and a force setting cranked beyond factory spec.
FAAC. FAAC operators are common on higher-end residential properties in Missouri City, particularly in Sienna and Riverstone. FAAC boards are not user-serviceable. The warranty excludes any board that shows signs of unauthorized access, including stripped terminals or heat damage from incorrect wiring. A FAAC board replacement runs $400 to $800, which makes this an expensive gamble.
BFT. BFT operators have a similar policy. Their boards carry a tamper-evident seal on the programming port in some models. Breaking that seal voids the board warranty. If you don’t know whether your BFT board has a tamper seal, you shouldn’t be opening it.
Linear. Linear is popular on mid-range slide gates across Fort Bend County. Their warranty excludes “damage caused by lightning, power surges, or improper installation.” Improper installation includes DIY work that fails. The important note here: Missouri City gets more lightning strikes per square mile than almost anywhere in the Houston metro outside the ship channel. If you install a board during the summer and there’s a surge event three months later, the manufacturer will look for evidence of prior unauthorized work before honoring the claim.
Does that mean you can’t do anything yourself? No. It means the conditional DIY list from earlier is the boundary. Hinge lubrication doesn’t void a warranty. Remote battery replacement doesn’t void a warranty. Opening the operator cover and touching wires voids a warranty on brands that enforce it. Know which side of that line you’re on before you pick up the screwdriver.
The Real Cost Comparison: Labor Saved vs. Risk Adjusted
Let’s run the numbers the way a Missouri City homeowner actually experiences them, because “labor saved” is only part of the equation-our Gate Repair Cost Breakdown: The Missouri City Homeowner’s Reference for 2026 covers this in full detail.
Remote battery replacement. DIY cost: $5 and 5 minutes. Professional cost: not a service call we would charge a separate trip for; most companies bundle it into a maintenance visit. DIY wins, no contest.
Photo-eye lens cleaning. DIY cost: $0 and 10 minutes. Professional cost: included in a service visit if you’re already calling for something else. DIY wins.
Photo-eye realignment. DIY cost: $0 and 30 minutes, if you get it right. Professional cost: $85 to $150 for a straightforward realignment in Missouri City. Here’s where the risk-adjustment matters. If you misalign it and the gate closes on a car door, the damage is $1,200 to $2,500. If you misalign it and the gate refuses to close, you’re paying for the professional call anyway, plus the time you spent.
Limit switch adjustment. DIY cost: $0 and an hour, if the settings are retrievable. Professional cost: $100 to $175. Risk: if you set the limit too far, the gate travels past its stop and bends the arm bracket. That repair is $200 to $400. If you set it too short, the operator trips the thermal overload repeatedly and shortens motor life.
Control board replacement. DIY cost: $200 to $600 for the board, plus 2 to 3 hours if everything goes perfectly. Professional cost: $400 to $900 installed, depending on brand. Risk: a miswired board dies immediately, and the warranty is void because you installed it. Your actual cost becomes $400 to $1,200, plus now you’re paying a professional anyway.
Operator motor replacement. DIY cost: $250 to $500 for the motor, plus 3 to 4 hours, plus the very real risk of electrical shock from the capacitor. Professional cost: $500 to $1,100 installed. The DIY savings evaporate the moment something doesn’t go according to the YouTube video.
The pattern is consistent. The cheaper the repair, the safer the DIY. The more expensive the repair, the harder the DIY risk bites. That’s not a coincidence. It’s the market pricing the knowledge.
The Clean Handoff: How to Pass a DIY Repair to a Technician
So you attempted a repair, it didn’t work, and now you’re calling us. Here’s how to make that call go smoothly and keep the diagnostic time short. This is the most actionable section of this guide, and almost no one covers it.
- Be honest about what you touched. You’re not the first homeowner to open an operator cover and not the last. Tell the technician exactly what you adjusted or replaced. “I tried to reset the limits” gives us a diagnostic head start. “The gate just stopped working” after you spent two hours inside the control board sends us down the wrong path for the first hour of the visit.
- Produce your documentation. If you followed the documentation standard above, the technician can review your before photos and settings notes in five minutes. That’s five minutes of diagnostic work you’ve already done for free. We love that. It means we get to the actual problem faster, and you pay less for our time.
- List the exact parts you installed, even if they’re wrong. If you replaced a capacitor with the wrong microfarad rating, we need to know that before we power the system back on. A wrong capacitor can damage other components on the board.
- Describe the symptom in sensory terms. What did you see, hear, or smell? “The motor hums for two seconds and then stops” is useful. “The gate is broken” is not. Sensory details are diagnostic data.
- Stop making changes before you call. Once you realize the repair isn’t working, stop. Every additional adjustment you make without understanding the system introduces a new variable. The technician now has to unwind three failed fixes instead of one.
When we arrive at a house in Missouri City where the homeowner has documentation and a clear description of what they tried, the visit is shorter, the diagnosis is faster, and the final invoice is almost always lower than a standard troubleshooting call on a gate with unknown history. That’s the financial value of the documentation standard. It doesn’t just help you. It helps the next person too.
Common Mistakes to Avoid
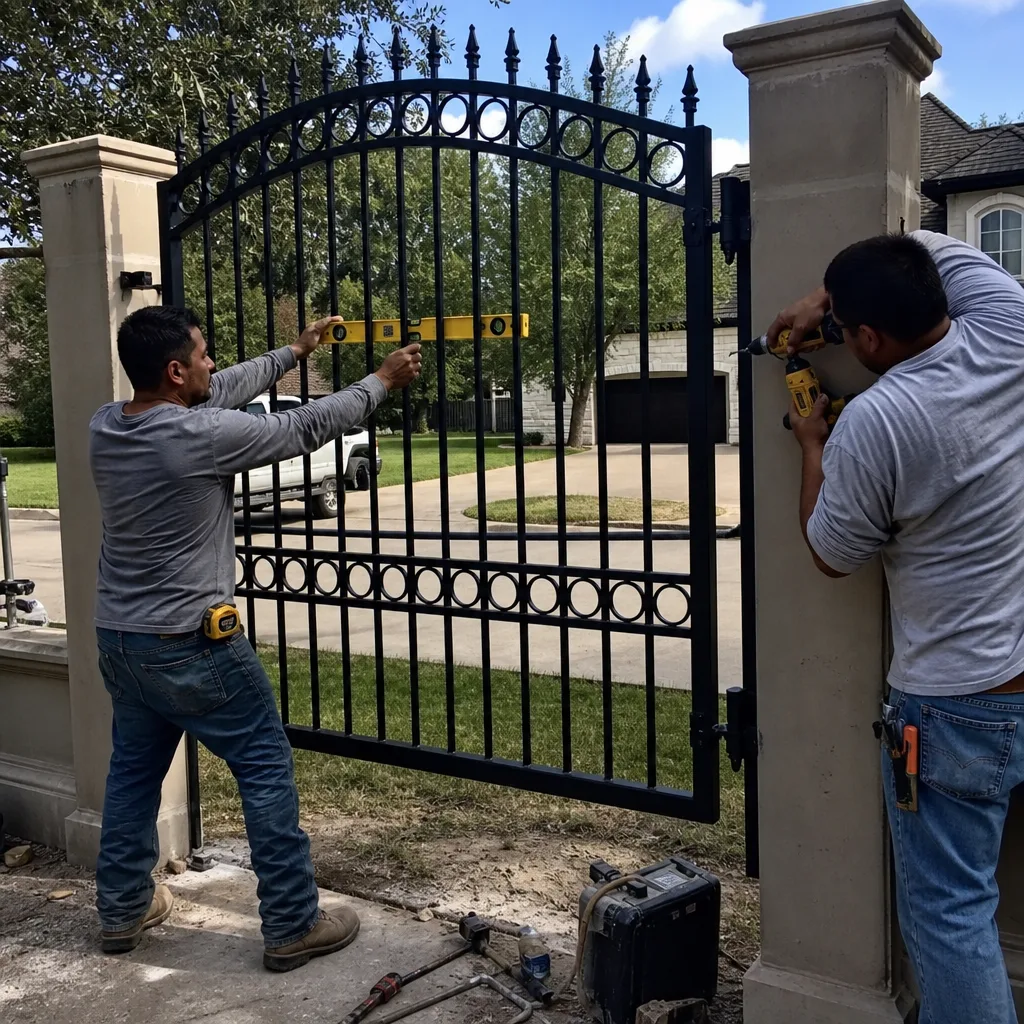
- Adjusting the force control to “make the gate close” instead of finding the actual obstruction. This is the most dangerous DIY mistake we see. A gate that reverses at one spot in its travel is telling you something is in the path or the track is binding. Cranking the force control up so the gate muscles through the obstruction turns a maintenance issue into a safety hazard. The gate will eventually close on something it shouldn’t, and the force setting is now beyond the UL safety standard.
- Using WD-40 on gate hinges. WD-40 is a solvent and a water displacer, not a long-term lubricant. It washes the existing grease out of the hinge pin and then evaporates, leaving the hinge drier than before. Use silicone spray or white lithium grease.
- Not photographing the original settings before adjusting them. Every dip switch, every potentiometer, every limit cam. Once you move it, the original position is gone unless you captured it. This single omission turns a $150 professional call into a $400 troubleshooting session.
- Buying a replacement part by “it looks the same” instead of matching the part number. A homeowner sees a capacitor that’s physically the same size but has a different microfarad rating. It fits. It also burns out the starter winding. Match the number printed on the side of the old part, not the shape.
- Ignoring the pull-to-open versus push-to-open orientation on a swing gate operator. Some operators can run either way, but the limit settings and the arm attachment are different. A gate that opens in the wrong direction can damage the operator, the gate frame, or whatever is behind the gate.
- Putting off a grinding noise because “it still works.” A swing gate that grinds at the hinge is a gate with a failing bearing or a dry hinge pin. The longer it grinds, the more metal wears away. The eventual repair is a hinge replacement and possibly a gate realignment, not a $5 tube of grease.
When to Call a Professional
Call a professional when the repair involves the operator, the electrical system, the safety circuits, or any load-bearing component of the gate itself. Call a professional when the gate makes a sound it didn’t make a week ago and you don’t know what that sound means. Call a professional when the warranty matters to you and opening the control board would void it. Call a professional when the gate is stuck open and the operator has no power at the outlet, because that’s an electrical problem, not a gate problem, and it requires a multimeter and training to trace safely.
Vance Gate Repair Missouri City offers free estimates in Missouri City. Call (346) 253-1761, describe what the gate is doing, and we’ll give you a written price before any work starts. If you’ve already started a DIY repair and gotten stuck, we’ll work from your documentation and get the job finished without charging you to redo the diagnostics you already did.
Frequently Asked Questions
You can physically replace a circuit board, but you shouldn’t unless you have electronics training and a multimeter. Installing a LiftMaster or FAAC board involves six to twelve wire connections across power, motor, limit, and safety terminals. One miswired terminal destroys the new board instantly, and the manufacturer will not replace it under warranty because the damage was caused by installation error. Gate installation professionals in Missouri City replace these boards regularly, and the installed cost is usually less than the cost of a board plus a second board after the first one fails.
Remote battery replacement, keypad code reset, photo-eye lens cleaning, hinge lubrication, and track debris removal are safe DIY tasks per our Gate Repair Maintenance Checklist for Missouri City Homeowners. These jobs don’t involve line voltage, they don’t void warranties, and the downside risk of doing them wrong is minimal. Everything else on the gate is either conditional on your documentation habits or professional-only.
Most residential gate repairs in Missouri City run between $125 and $600 depending on the problem. A photo-eye realignment is on the low end at $85 to $150. A limit switch adjustment runs $100 to $175. A control board replacement with parts runs $400 to $900. A full operator motor replacement runs $500 to $1,100. These are written-price ranges; the exact quote depends on the operator brand and the gate configuration, and a reputable company should put it in writing before any work starts.
It depends on the brand and what you touch. LiftMaster and FAAC both exclude unauthorized repair from their warranty coverage. BFT uses tamper-evident seals on some boards. Linear excludes damage caused by improper installation. Replacing a remote battery or lubricating hinges doesn’t void anything. Opening the operator cover and adjusting settings or replacing components may void your coverage if the manufacturer can tell the unit was opened.
A gate motor replacement in Missouri City typically runs $500 to $1,100 installed, depending on the brand and whether the existing mounting plate can be reused. LiftMaster and FAAC motors sit at the higher end of that range. The price should be quoted in writing before the work starts, including the motor part number and the labor to remove the old unit and mount the new one.
Some do and some don’t. We quote a flat, written price before any work starts, so you know the total before you approve anything. Discovery time, the hours spent diagnosing a problem with no service record, is where hourly billing gets expensive. That’s why we emphasize documentation on every visit, ours and yours, and why we review any other company’s written estimate for free. Call (346) 253-1761 for a free estimate in Missouri City.
The Bottom Line
DIY gate repair in Missouri City is a documentation problem more than a skill problem. For more guides & resources, see our blog. The repairs that are safe to attempt are the ones where failure carries almost no cost and no warranty risk: batteries, keypads, lenses, lubrication, track cleaning. The repairs that should go to a professional are the ones where the failure mode is expensive, dangerous, or both: operators, control boards, hinges, welds, and any line-voltage work. If you do attempt a conditional repair, document it like a professional would. Photograph every original setting, write down what you changed, and keep the record with the gate. If it doesn’t work, stop and call. The next technician will respect the documentation and charge you less because of it.
For help with any gate repair decision in Missouri City, call Vance Gate Repair at (346) 253-1761. We’ll give you a straight answer and a written price before any work begins. Back to Vance Gate Repair Missouri City home.
Written by Adrian Vance, Owner at Vance Gate Repair Missouri City, serving Missouri City since 2014.